
58 foto’s
 |
 |
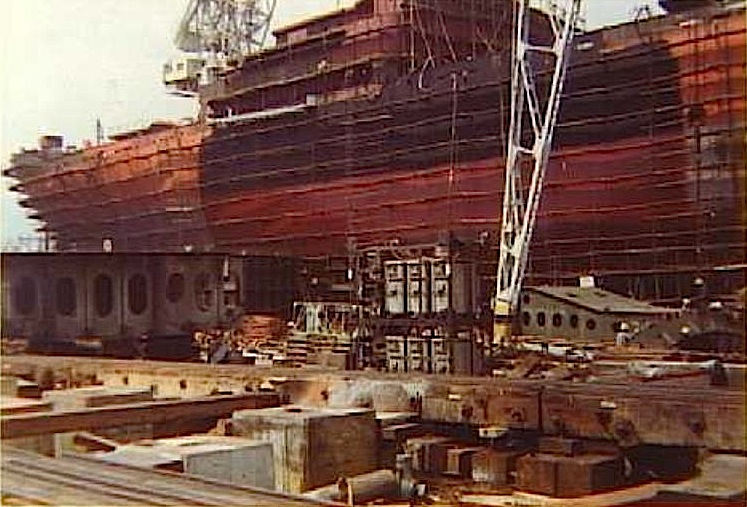 |
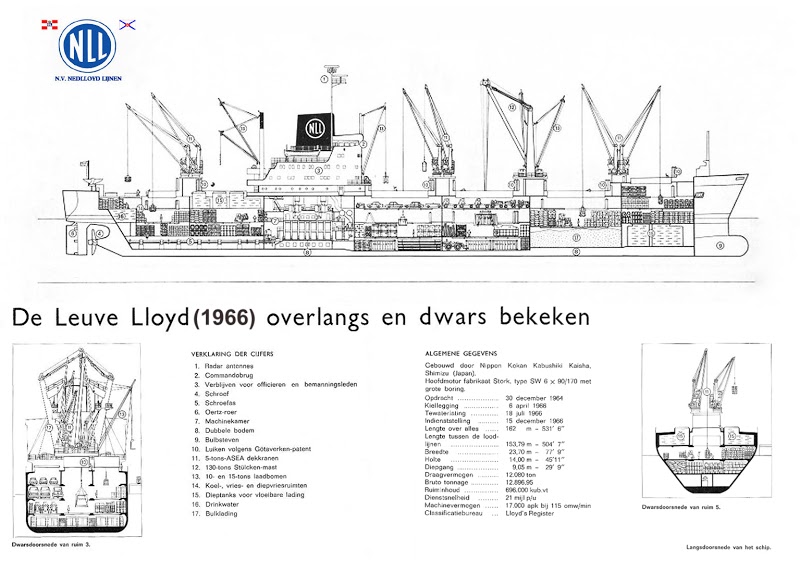
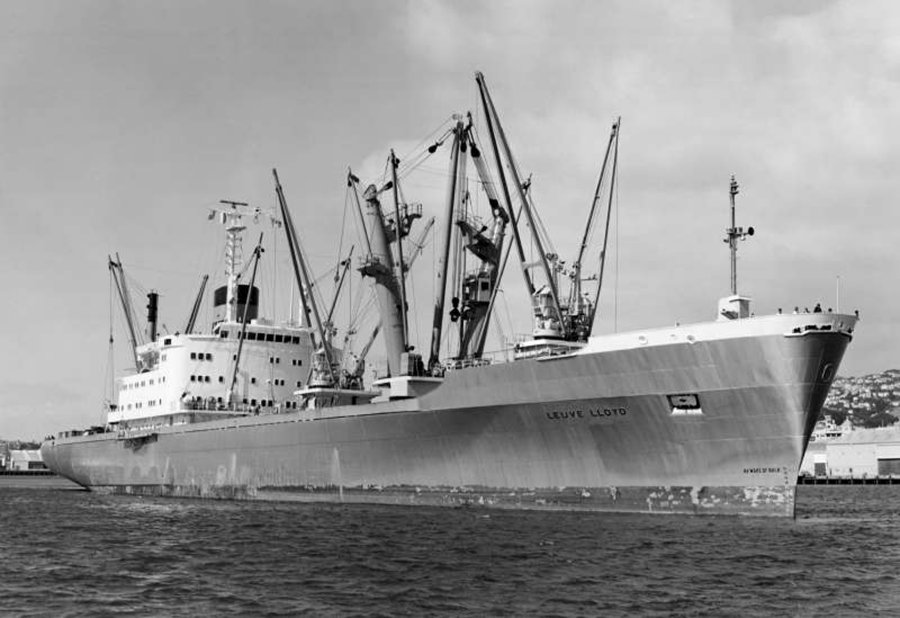
| 1 – Rotterdam – Leuve. | 1966-2 – ms Leuve Lloyd (cross section) dwarsdoorsnede. | 1966-1 – ms Leuve Lloyd – De bouw is ver gevorderd. |
xx |
 |
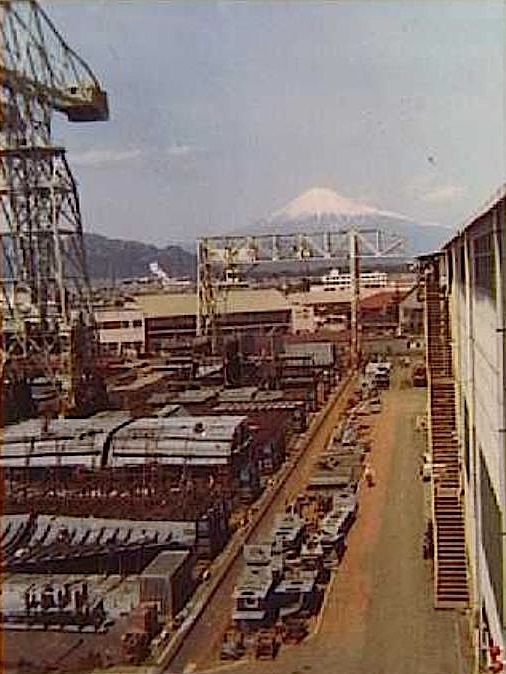 |
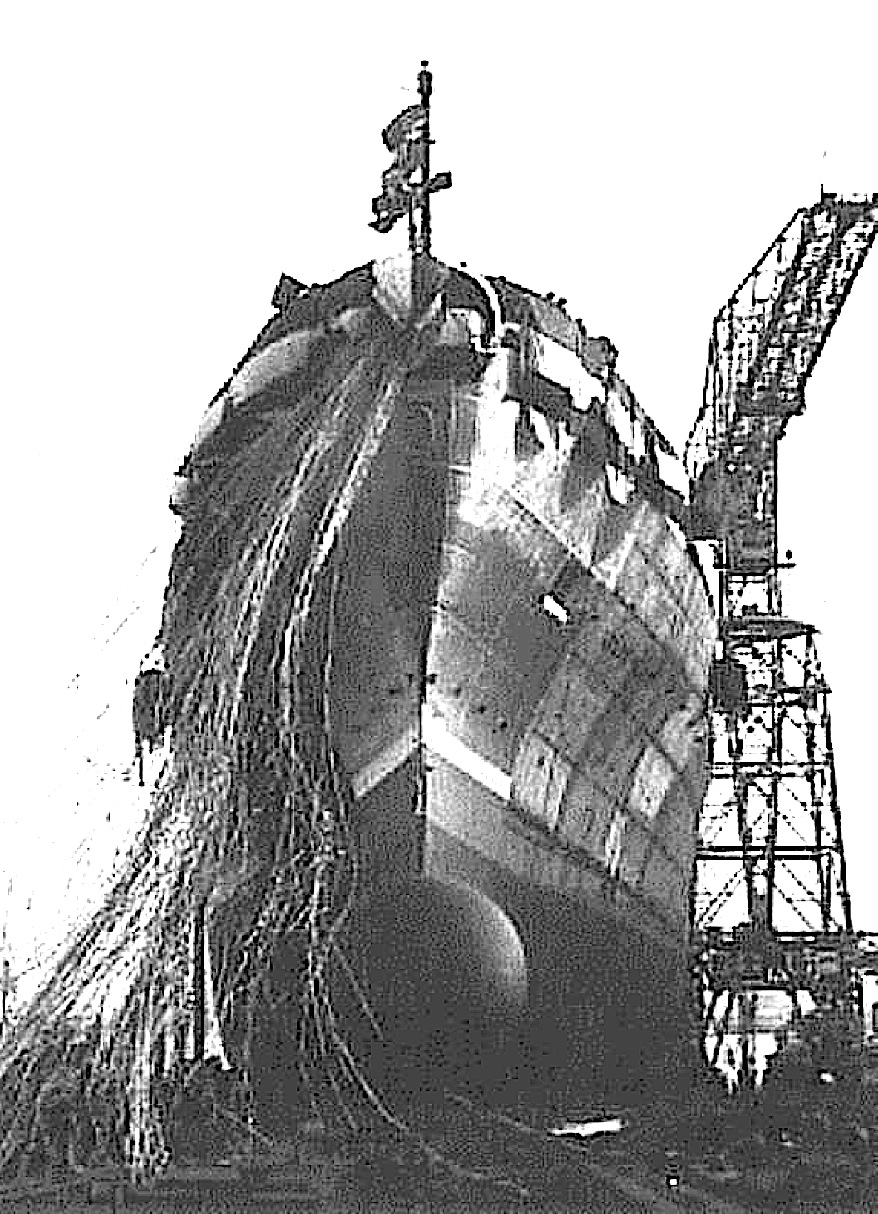
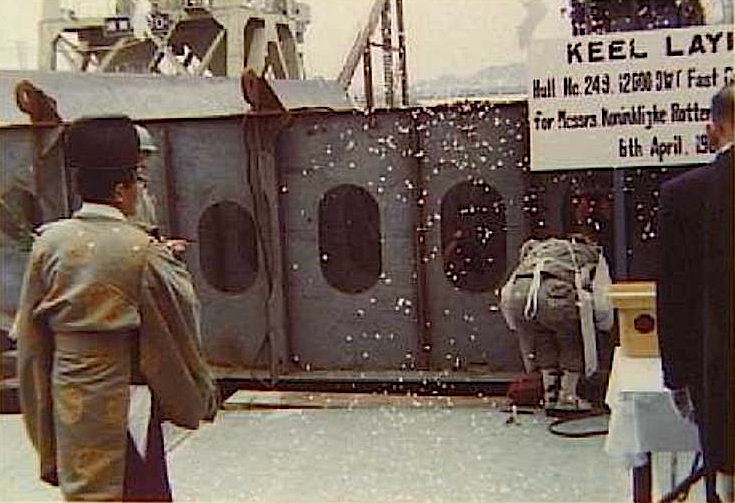
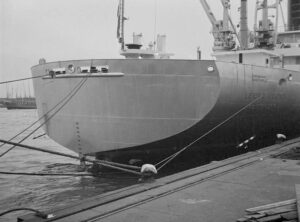
| 1966-5 – ms Leuve Lloyd – Tewaterlating. | 1966-3 – ms Leuve Lloyd – Kiellegging op 6 juni te Japan. | 1966-4 – ms Leuve Lloyd – In aanbouw met op de achtergrong Mount Fuji. |
 |
 |
|
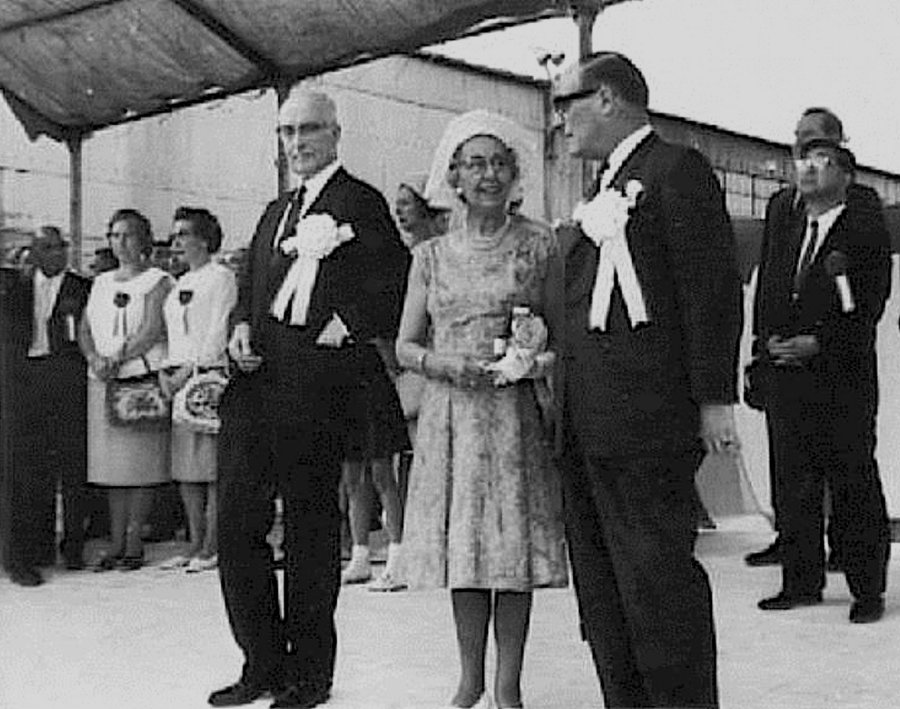
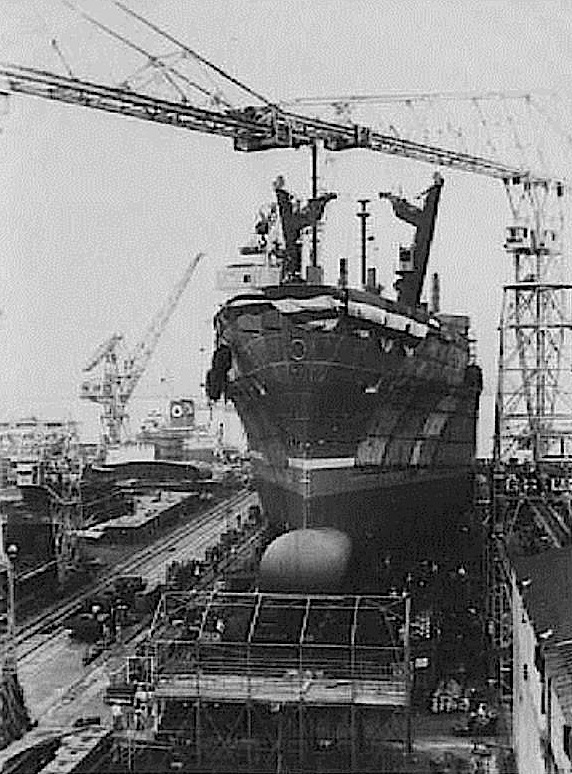
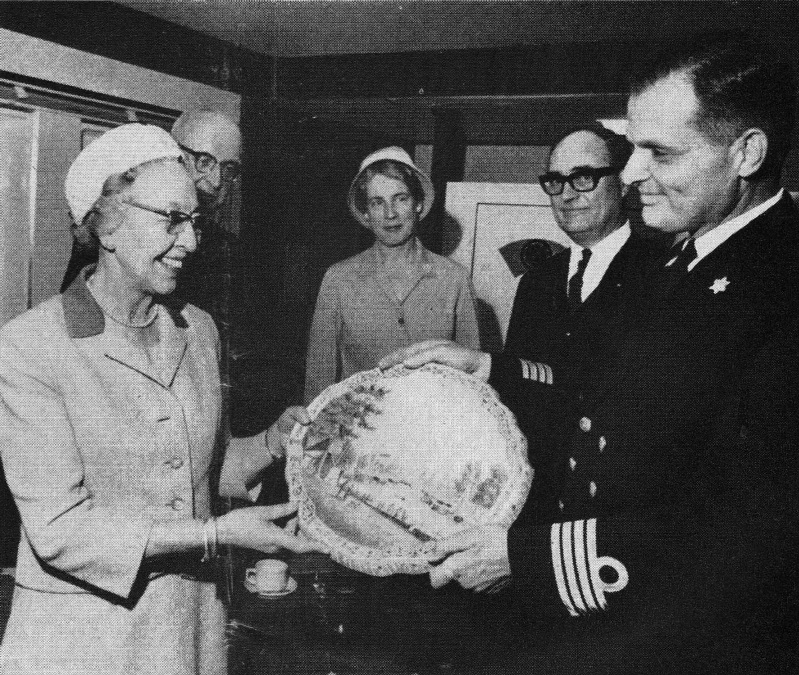
| 1966-8 – ms Leuve Lloyd – Doopster Mevrouw van Walsum met rechts directeur L. Ruys. | 1966-6 – ms Leuve Lloyd – Vlak voor de tewaterlating Nippon Kokan Shimizu werf te Japan – 18 april. | 1966-7 – ms Leuve Lloyd – Vlak voor de tewaterlating. |
 |
 |
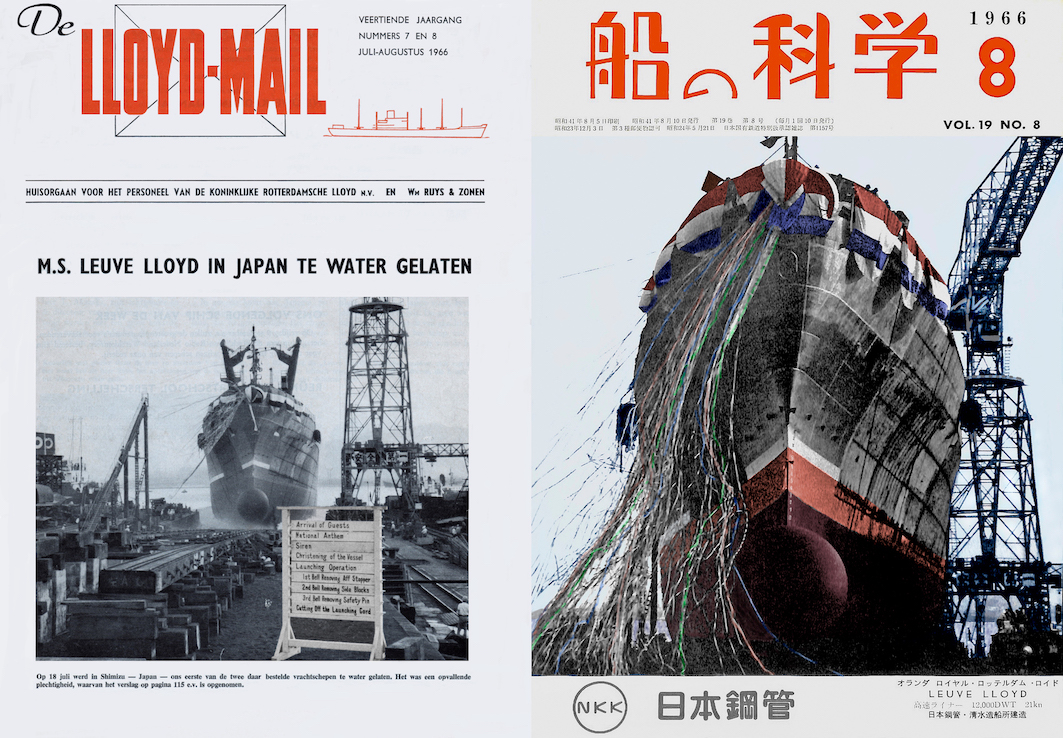 |
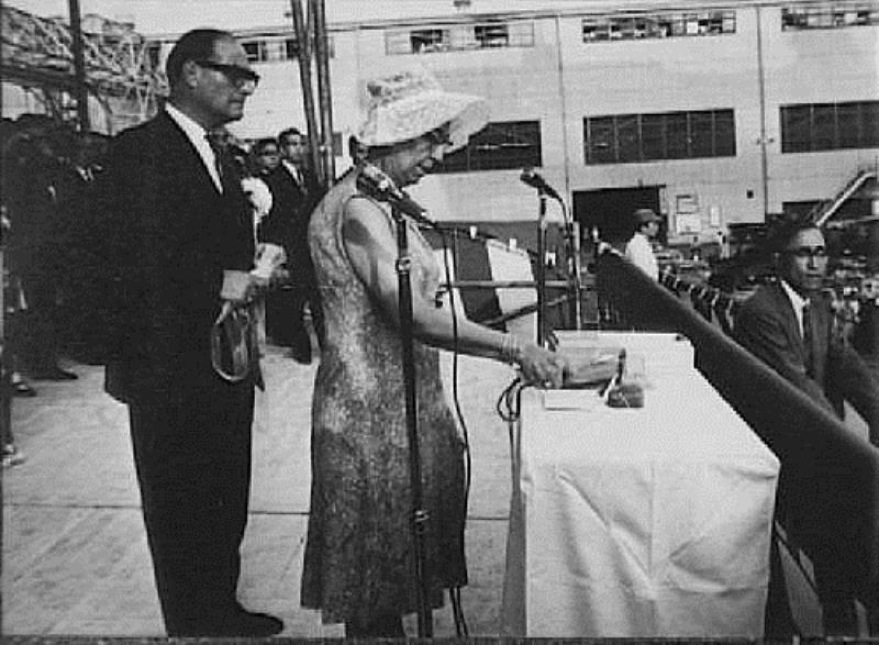
| 1966-9 – ms Leuve Lloyd – Tewaterlating. jpg. | 1966-10 – ms Leuve Lloyd-Doopster Mevr.van Walsum-rechts Directeur L. Ruys en Kapitein J.G. Vietor. | Juli 1966- Voorpagina’s van Lloyd Mail en Japans Werf-magazine – Ed van Lierde Collectie. |
 |
 |
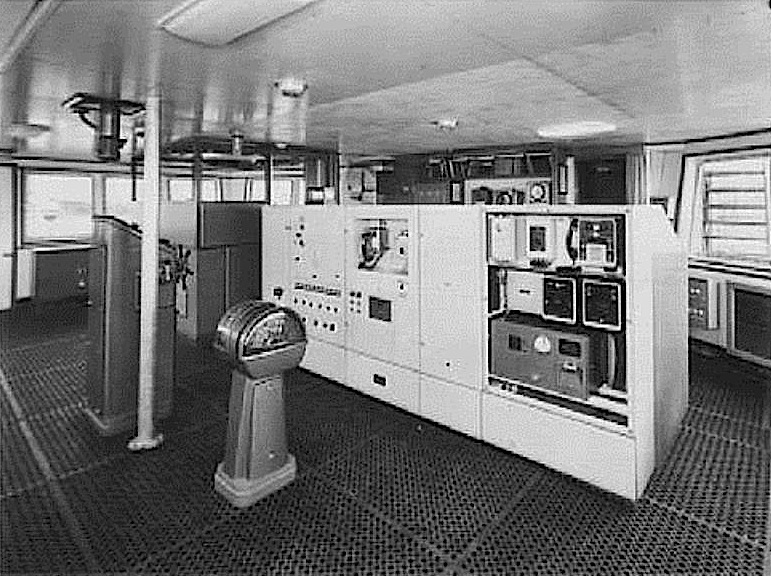 |
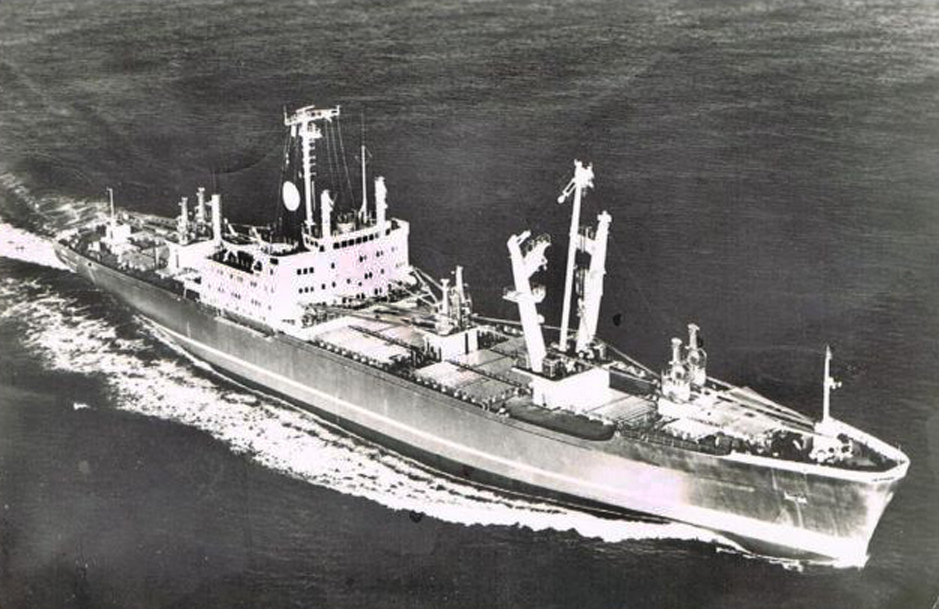
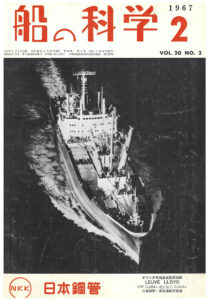
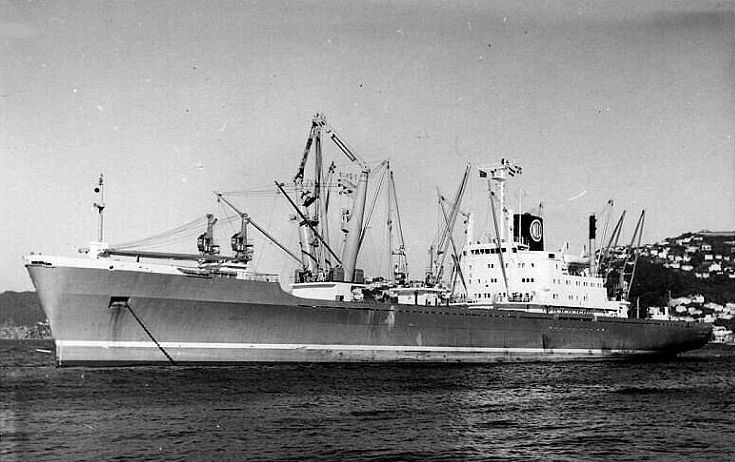
| 1967-1 – ms Leuve Lloyd. | 1967-1 – Voorpagina Japans werfmagazine. | 1967-2 – ms Leuve Lloyd – Brug met telegraaf, communicatie unit, etc. |
|
|
 |
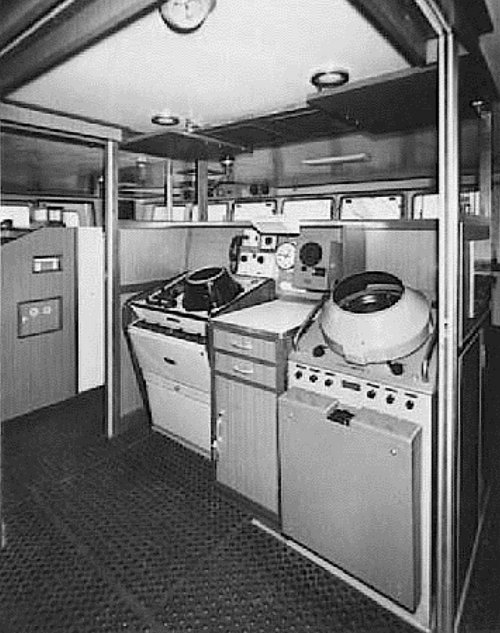 |
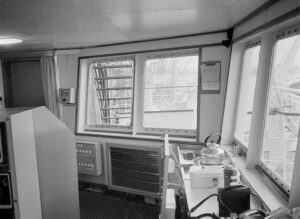
| 1967-3 – ms Leuve Lloyd – Navigatiebrug voor- en stuurboordzijde – Foto Lloyd Mail. | 1967-4 – ms Leuve Lloyd – Navigatiebrug bakboordzijde, shot achterschip. | 1967-5 – ms Leuve Lloyd – Navigatiebrug – Radars. |
 |
 |
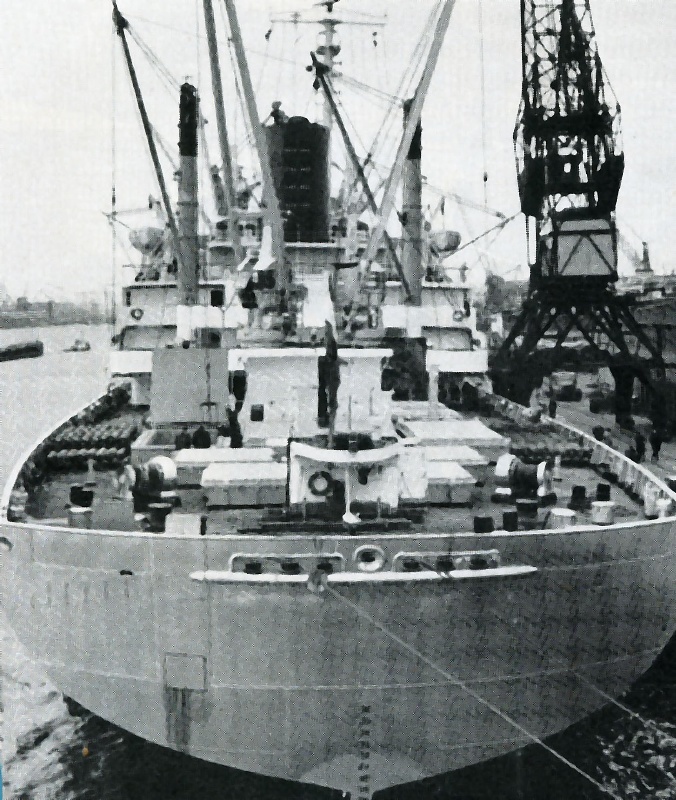 |
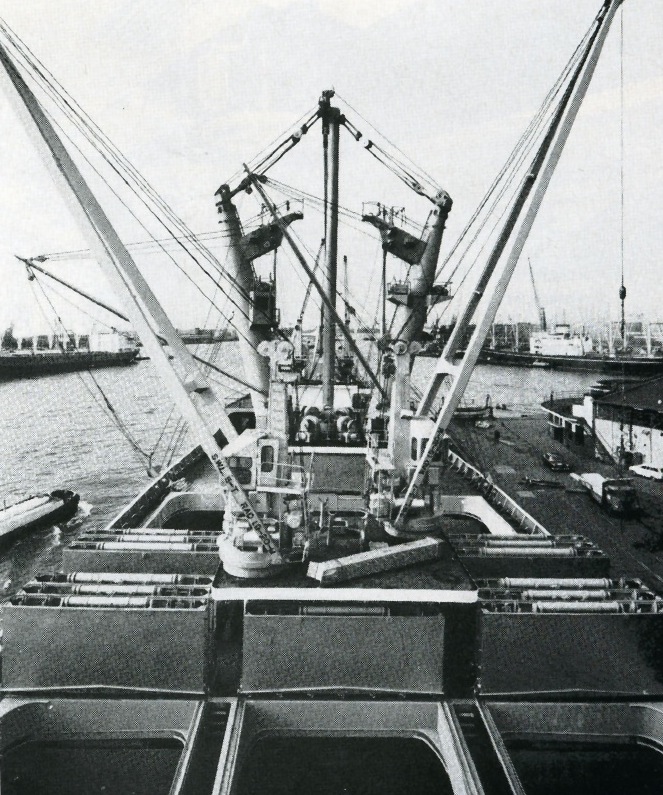
| 1967-6 – ms Leuve Lloyd – Het voorschip – Foto Lloyd Mail. | 1967-7 – ms Leuve Lloyd – Deeptanks achterschip – Foto Lloyd Mail. | 1967-8 – ms Leuve Lloyd – Een moderne kont – een rechte spiegel – Foto Lloyd Mail. |
 |
 |
 |
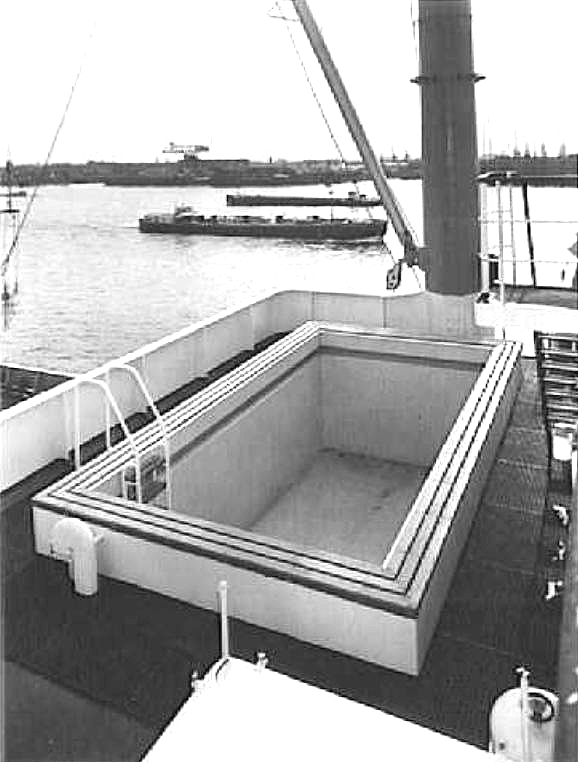
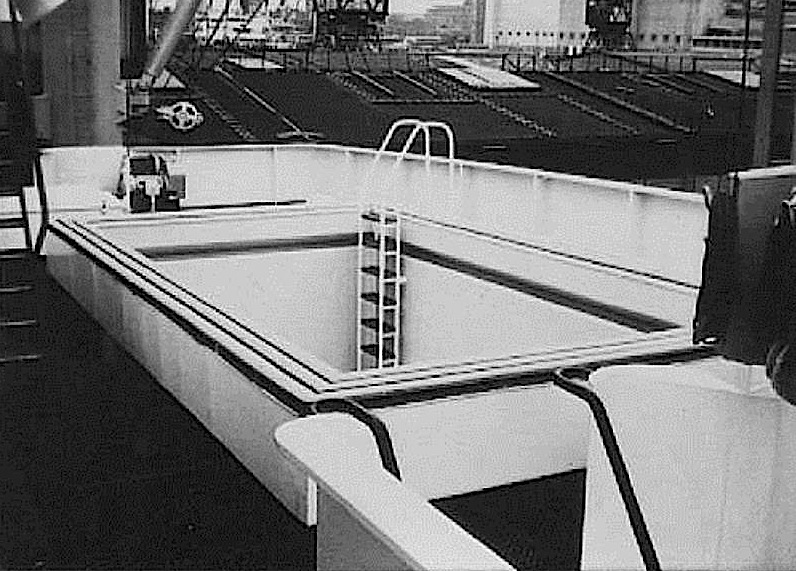
| 1967-9 – ms Leuve Lloyd – Het zwembad – Foto KRL-Museum. | 1967-10 – ms Leuve Lloyd – Zwembad – Foto KRL-Museum. | 1967-11 – ms Leuve Lloyd – Achterdek. |
 |
 |
|
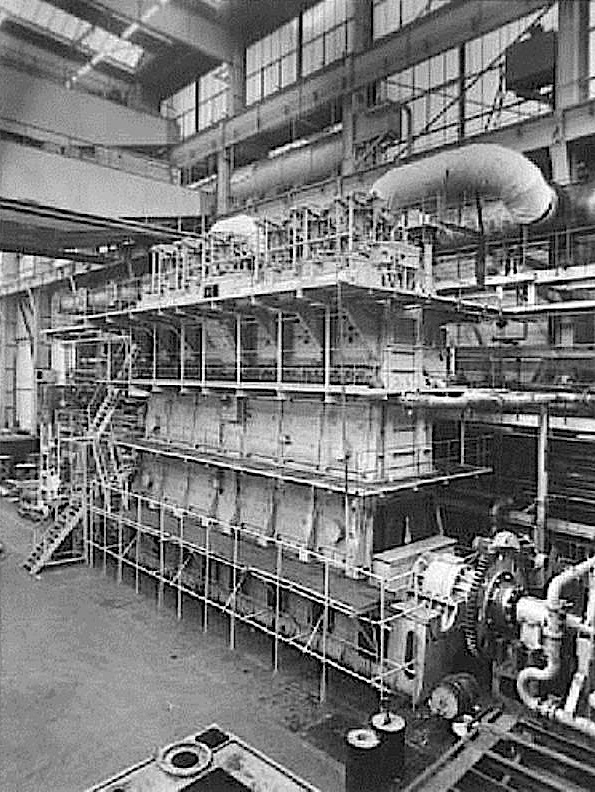
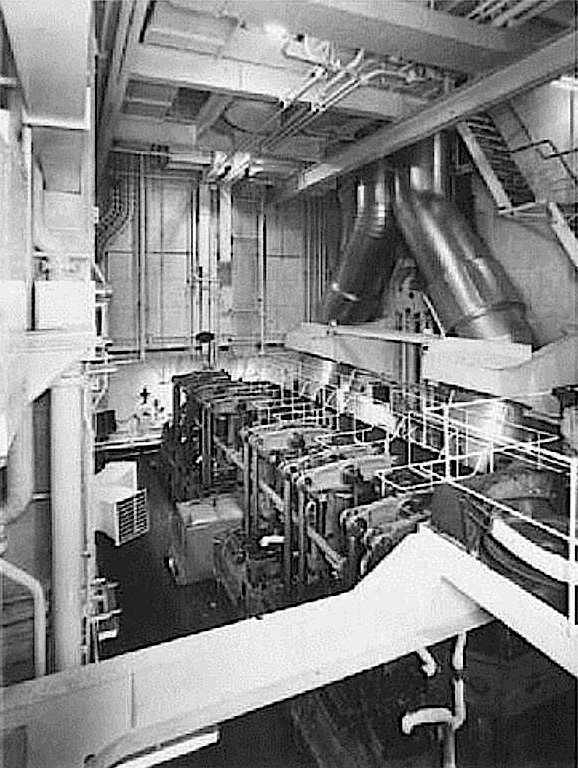
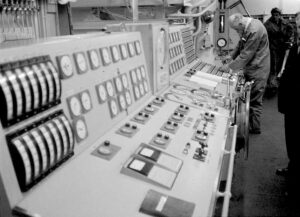
| 1967-12 – ms Leuve Lloyd – Hoofdmotor in aanbouw. | 1967-13 – ms Leuve Lloyd – Hoofdmotor. | 1967-14 – ms Leuve Lloyd – Machinekamer, controlekamer. |
 |
 |
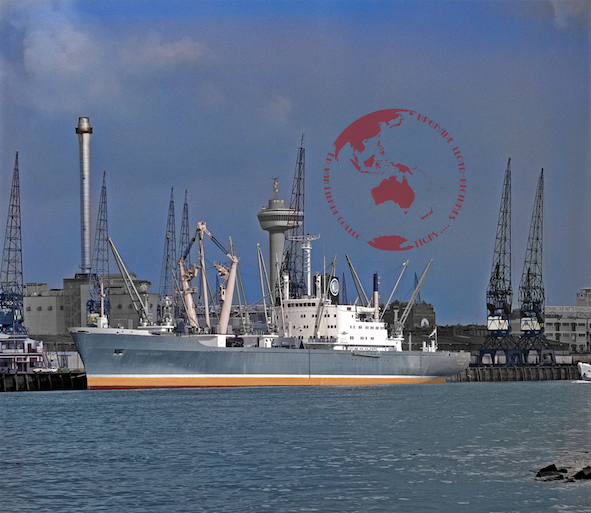 |
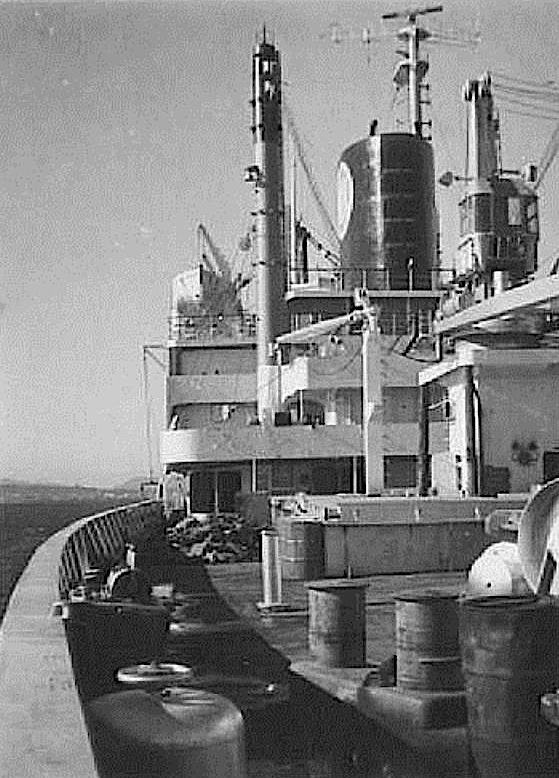
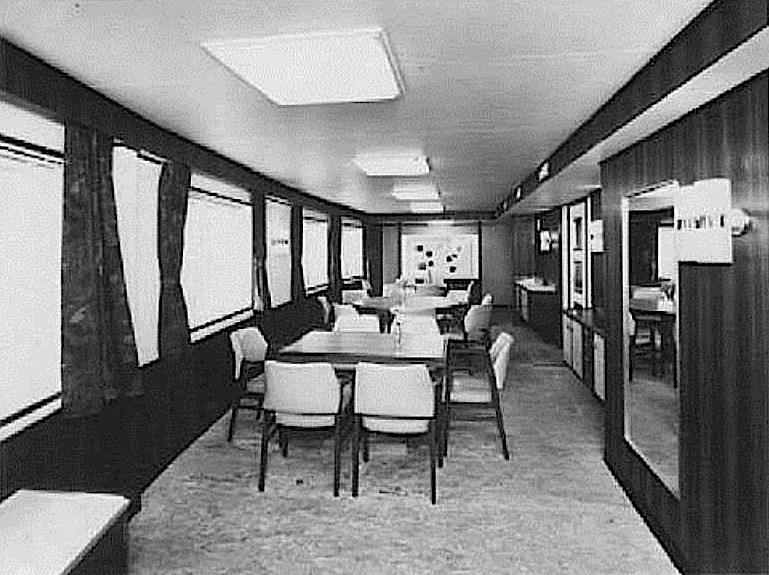
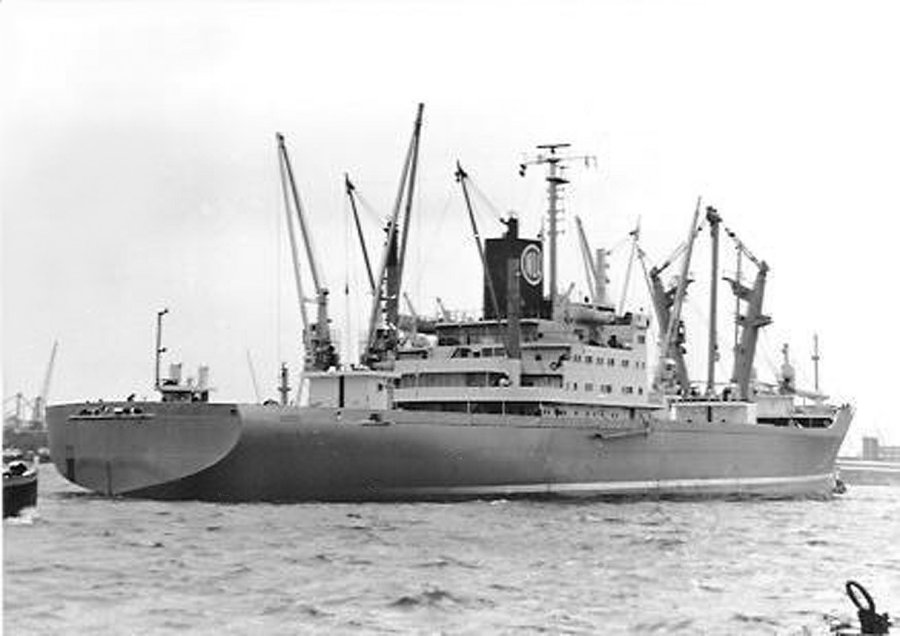
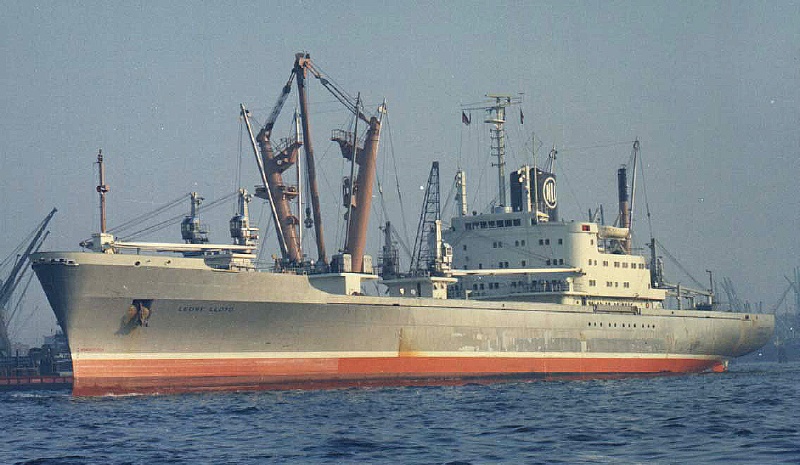
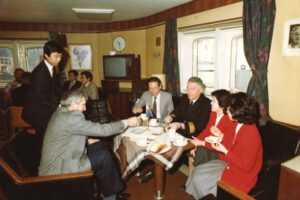
| 1967-15 – ms Leuve Lloyd – Messroom officieren. | 1967-16 – Folder over de vier snelste schepen ter wereld kopie. | 1967-17 – ms Leuve Lloyd liggend aan de Lloydkade onder een dreigende lucht – Upgrade Ed van Lierde Collectie |
 |
 |
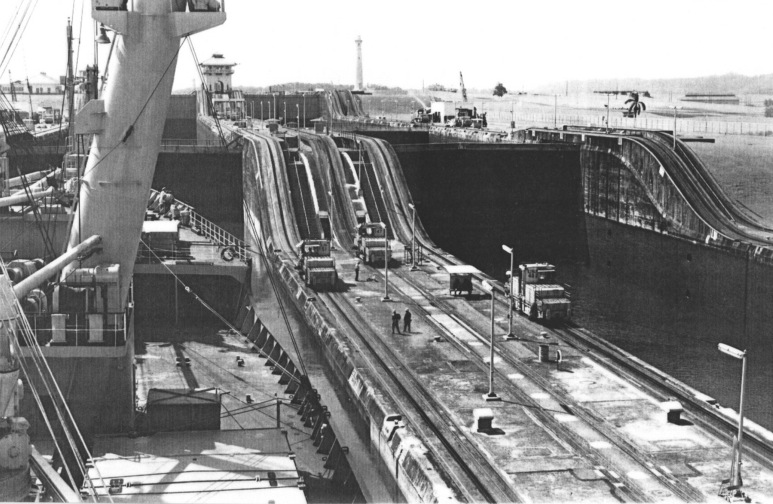 |
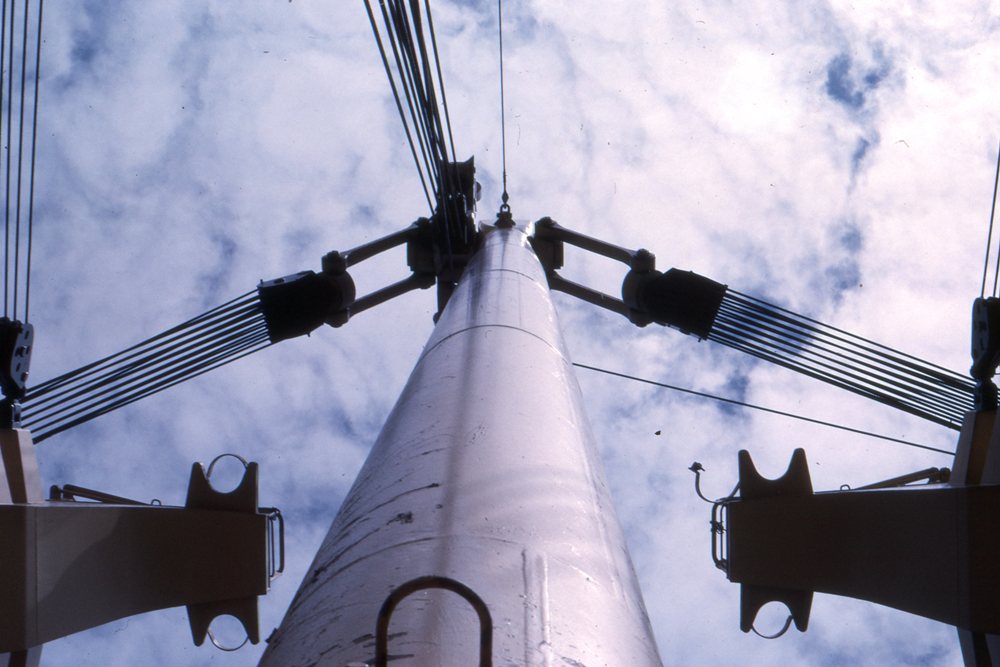
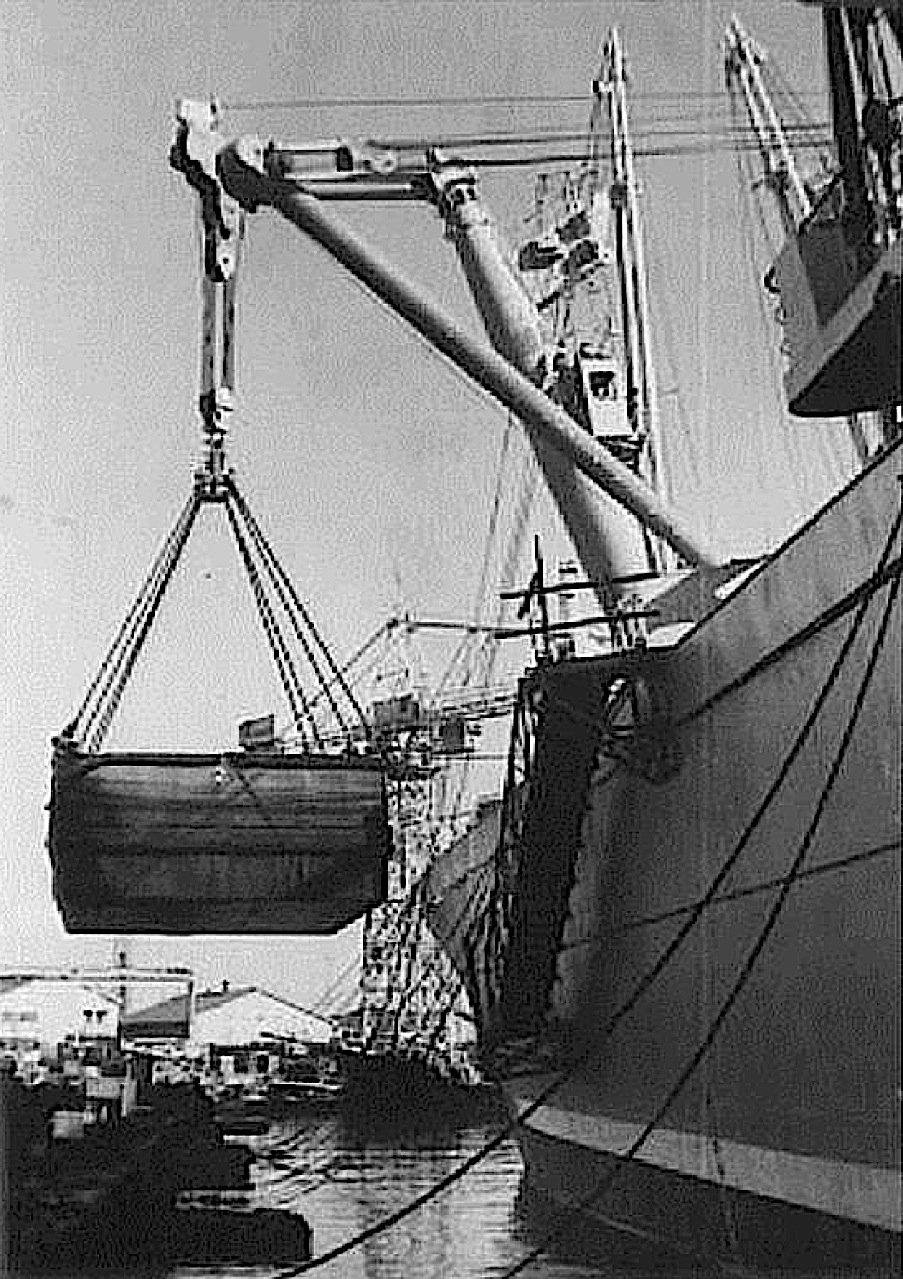
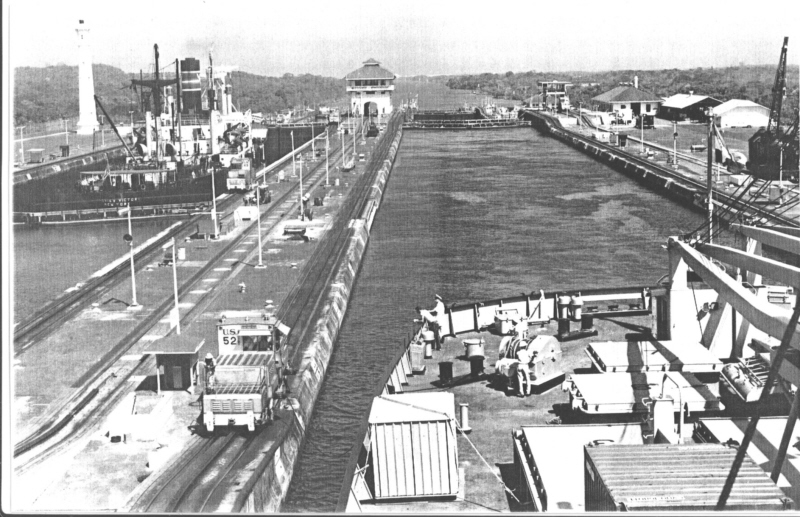
| 1967-18 – ms Leuve Lloyd – Stulkenmast. | 1967-19 – ms Leuve Lloyd – Stulckenpatent zware spier. | 1968-1 – ms Leuve Lloyd – In het Panama-kanaal. |
 |
 |
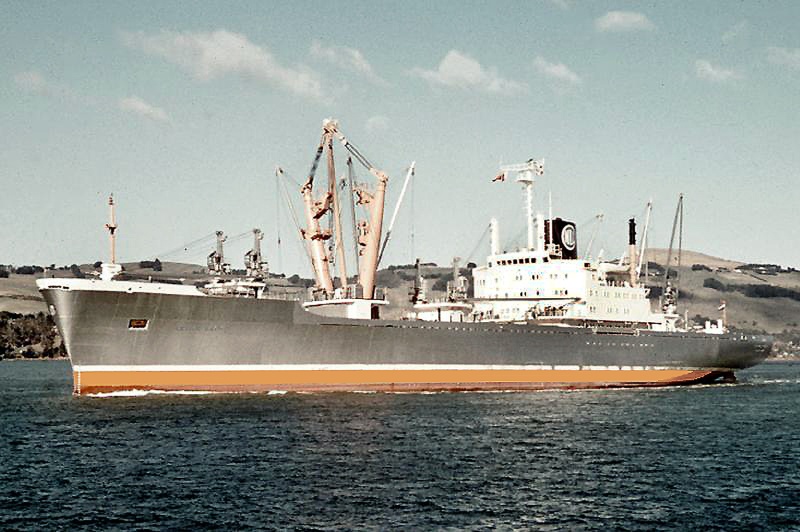 |
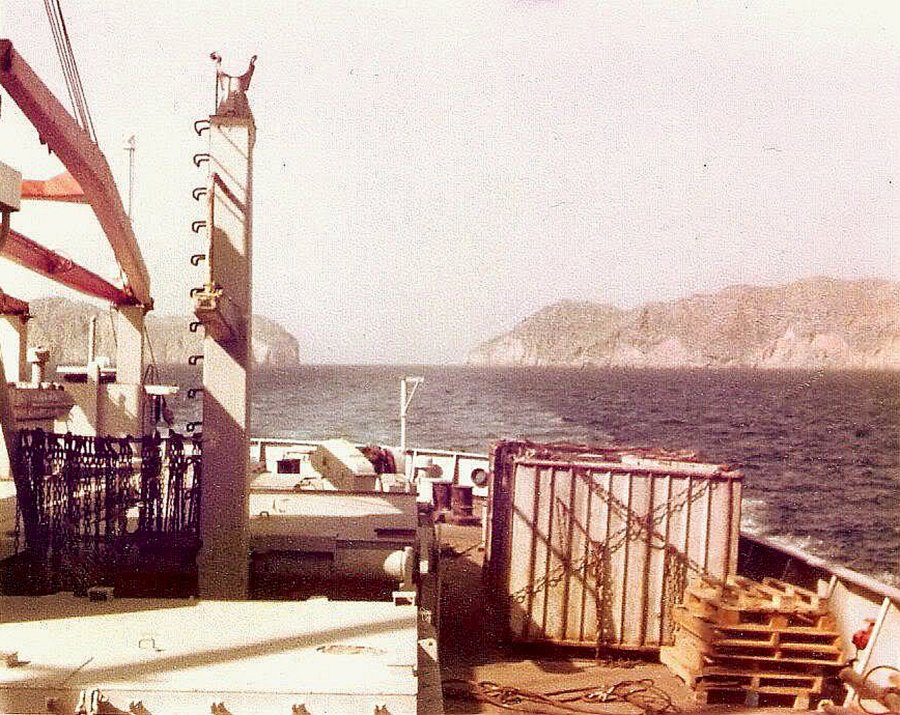
| 1968-2 – ms Leuve Lloyd – Wellington – Foto KRL-Museum. | 1968-3 – ms Leuve Lloyd – Lyttelton harbour – Foto W. Mooijen. | 1969-1 – ms Leuve Lloyd – Dunedin New Zealand – Foto KRL-Museum. |
 |
 |
 |
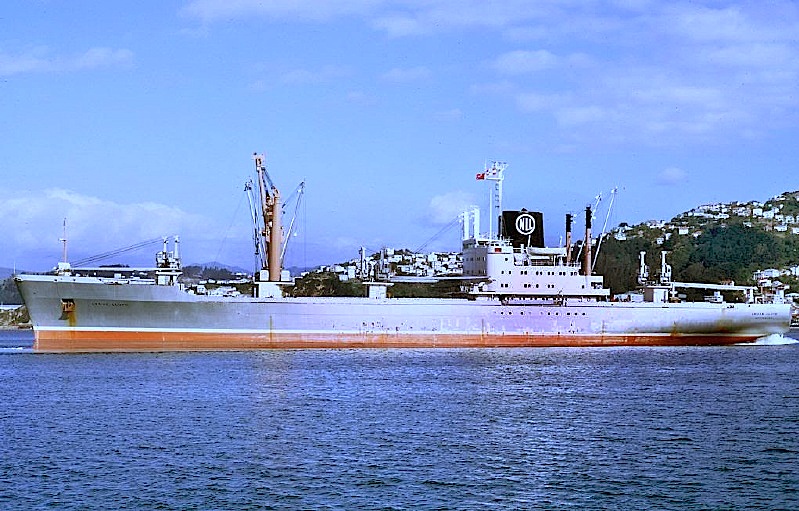
| 1969-2 – ms Leuve Lloyd – Dunedin NZ – Foto Chris Howell. | 1969-3 – Leuve Lloyd. | 1969-4 – ms Leuve Lloyd in Hamburg – Foto KRL-Museum. |
 |
 |
 |
| 1969-5 – ms Leuve Lloyd – Kapitein B. van der Hoeve – Foto KRL-Museum. | 1969-6 – ms Leuve Lloyd – Kapitein B. van der Hoeven en Hofmeester T. H. Tjabbes – Foto Lloyd M. | 1970-1 – ms Leuve Lloyd – Wellington New Zealand – Foto R. Harteveld. |
 |
 |
 |
| 1970-2 – ms Leuve Lloyd – Catunsluizen Panamakanaal. | 1970-3 – ms Leuve Lloyd. | 1970-4 – ms Leuve Lloyd. |
 |
 |
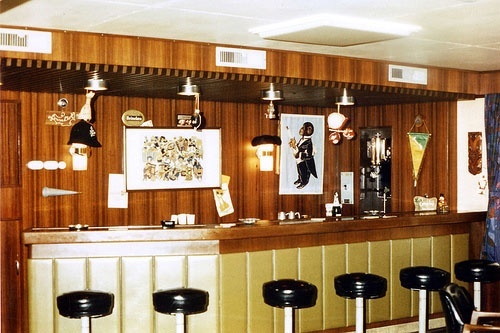 |
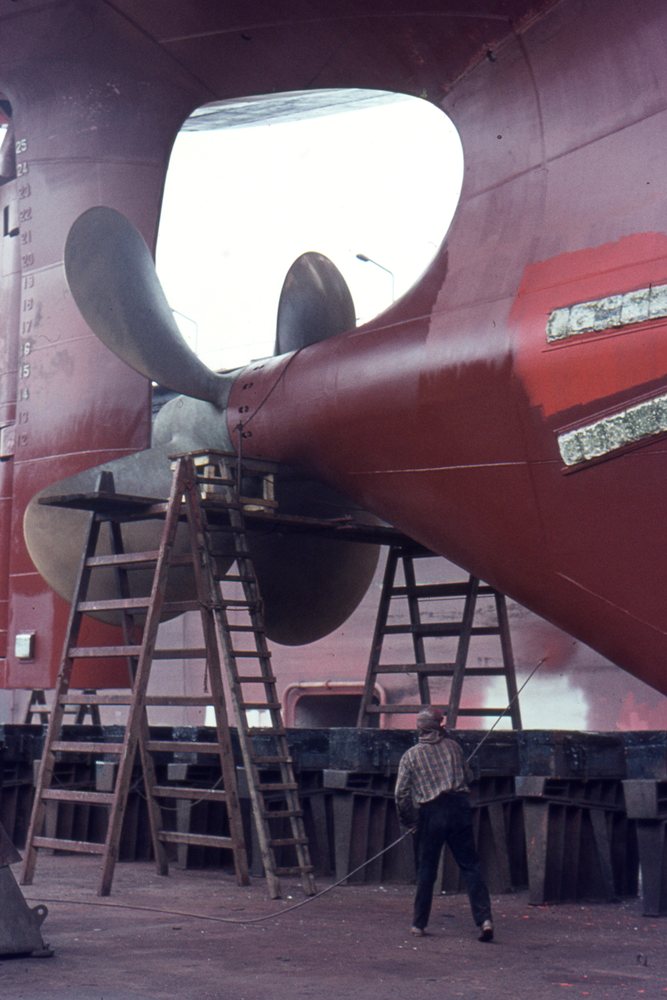
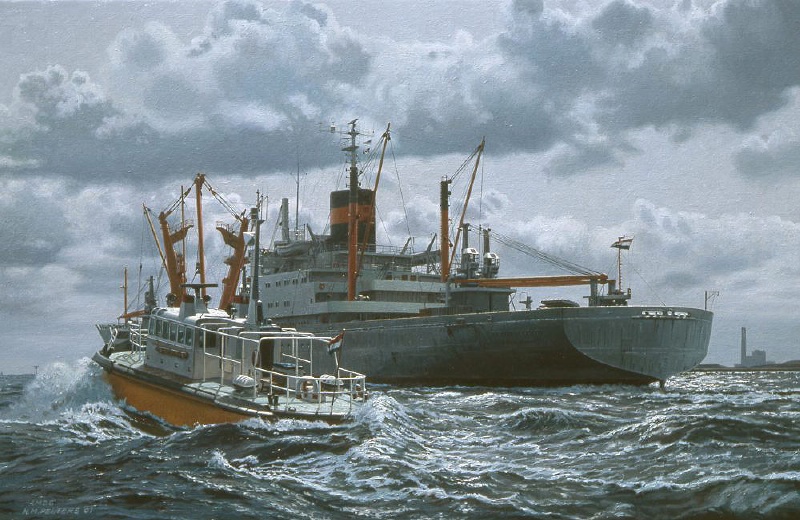
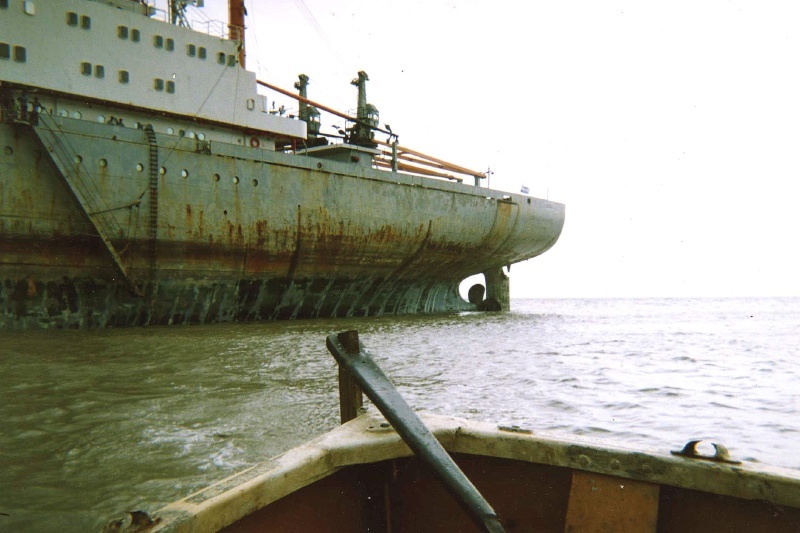
| 1970-5 – ms Leuve Lloyd – Hamburg in dok. | 1970-6 – ms Leuve Lloyd – Olieverfschilderij met loodsboot op de rede van Vlissingen. | 1971-1 – ms Leuve Lloyd – Bar officieren – Foto R. Harteveld. |
 |
 |
 |
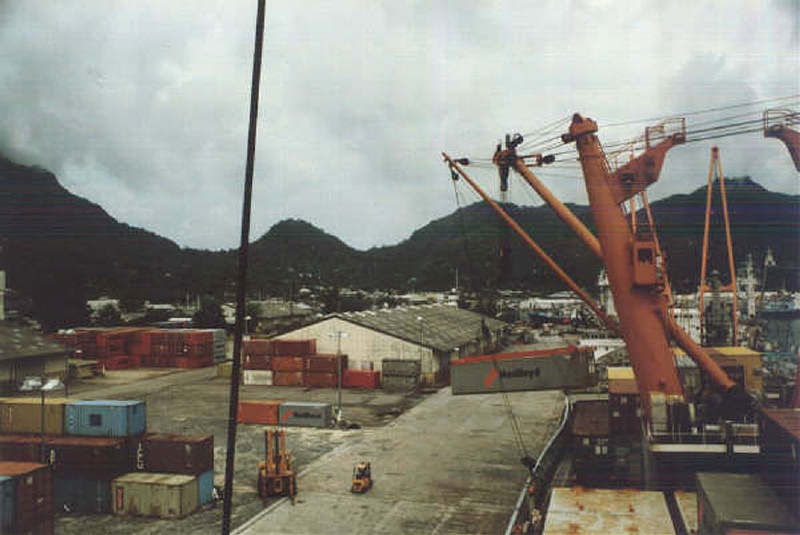
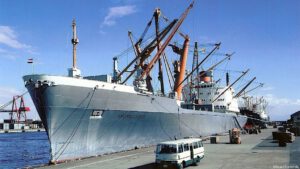
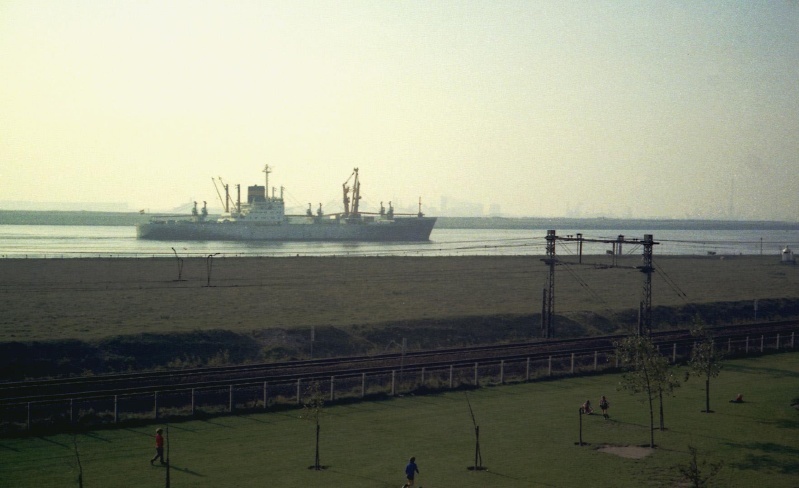
| 1971-2 – ms Leuve Lloyd – Foto R. Harteveld. | 1971-3 – ms Leuve Lloyd – Nieuwe Waterweg bij Maassluis – Foto R. Harteveld. | 1981- ms Nedlloyd Leuve – Yokohama verbouwing met o.a. HWTK Piet Pieterse. |
 |
 |
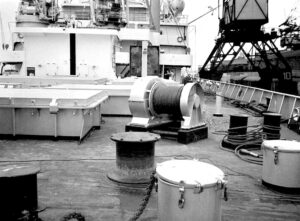 |
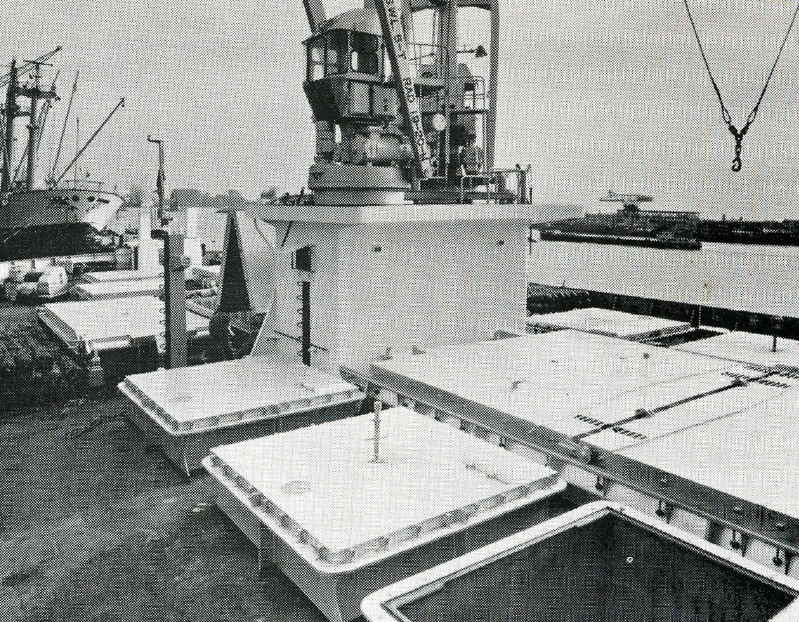
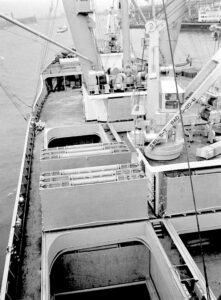
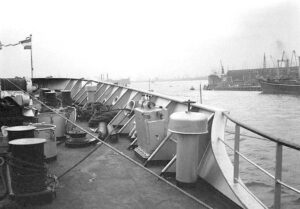
| 1966- ms Leuve Lloyd – Voorschip ruim-4 met opengelegde ruimen. | 1966- ms Leuve Lloyd – Voorschip met ankerspil en automatische afmeer-lier. | 1966- ms Leuve Lloyd – Achterschip met dieptanks luik-6 en automatische afmeer-lier. |

 |
||
| 1966- ms Leuve Lloyd – Achterschip met karakteristiek vlakke spiegel.jpeg | ||
 |
 |
 |
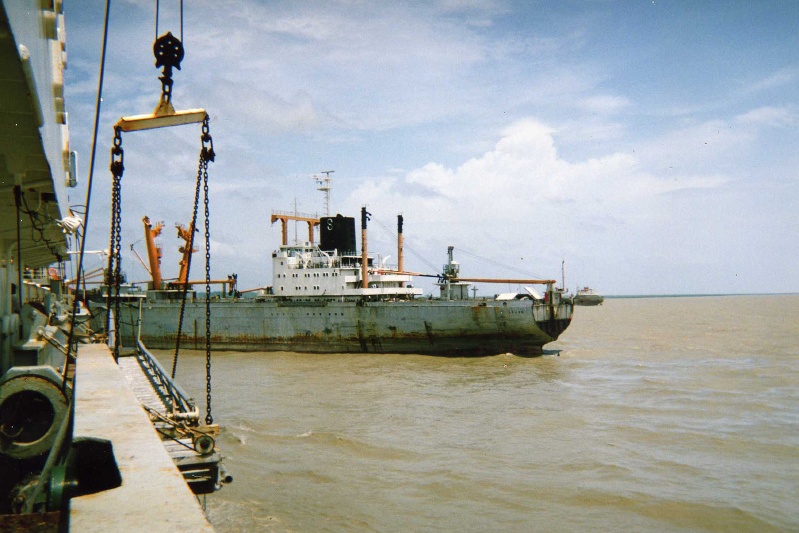
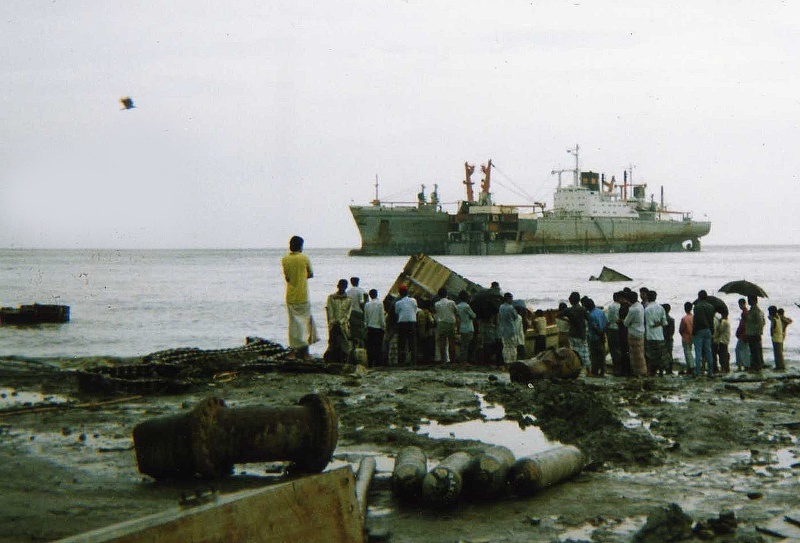
| 1991-1 – Bangladesh – Loire Lloyd vaart Leuve Lloyd aan – Foto H. Bonke. | 1991-2 – Bangladesh – Een gesloopt rompdeel wordt aan land getrokken – Foto H. Bonke. | 1991-3 – Bangladesh – Het ms Loire Lloyd aan de grond – Foto H. Bonke. |
| xxx | xxx | xxx |
| xxx | xxx | xxx |
| ……………………………………………………. | …………………………………………………… | ……………………………………………………. |
| xxx | xxx | xxx |
| xxx | xxx | xxx |
| xxx | xxx | xxx |
| xxx
|
xxx | xxx |
| xxx | xxx | xxx |
| xxx | xxx | xxx |
| xxx | xxx | xxx |
| xxx | xxx | xxx |
| xxx | xxx | xxx |
| xxx | xxx | xxx
|
| xxx | xxx | xxx |
| xxx | xxx | xxx |
| xxx | xxx | xxx |
| xxx | xxx | xxx |